Training tutorial
Last modified: September 16, 2022
Contents
This tutorial walks through the process of creating training data using the Gamera GUI. The training GUI is designed to be as flexible as possible, so this tutorial represents just one possible approach, while introducing most of the key features and concepts.
For this example, we will be training on pages from the Statistical Accounts of Scotland. The demo pages used in this tutorial will be made available through the Gamera website soon.
The goal during the run of this tutorial is to create enough training data that the classifier will perform well on new pages.
Starting the GUI
There is a gamera_gui script installed somewhere on your system (this location is platform-specific, see Building and Installing Gamera). Run it to start the Gamera GUI.
Console window
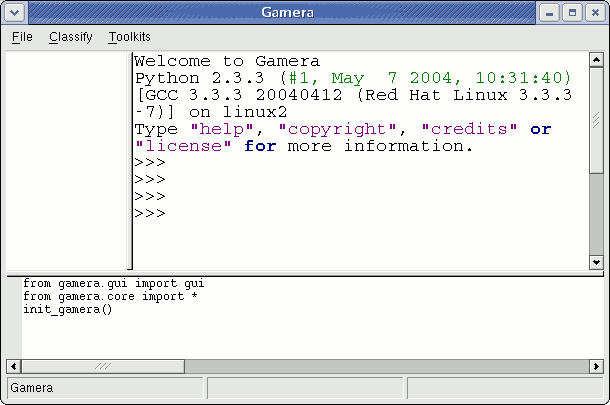
The first thing displayed is the console window. It won't be used for anything in this tutorial, other than starting up the classifier interface.
Classifier window
From the console window, start the interactive classifier window.
Classify -> Interactive Classifier
When prompted for a name for the result, simply click Ok to accept the default. This will open an empty classifier window.
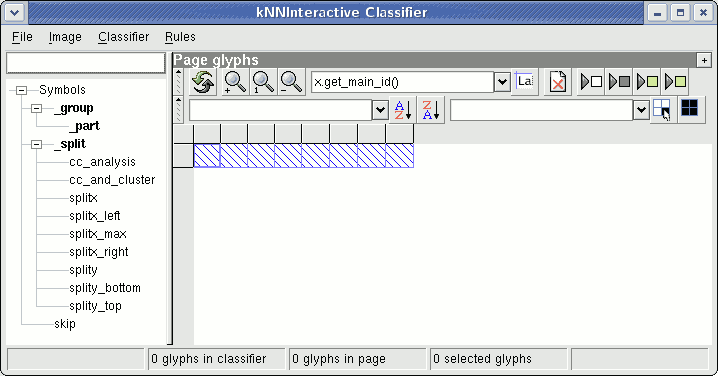
The classifier window always starts from a clean slate: there is no data in the classifier and it does not yet have an image to use as a source.
Opening and segmenting an image
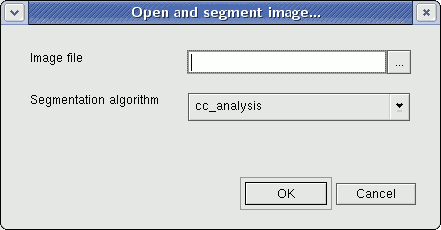
First, load a page image.
Image -> Open and segment image...
This loads an image into the training interface, segments it into its parts, and then puts those parts into the page glyphs pane in the training interface.
The method used to segment the image into its parts is user-selectable, and will depend on the type of documents being trained. For instance, if the document were sheet music, the segmenter would need to first remove the staff lines. Most often you will use the default segmentation method, connected component analysis (cc_analysis), which will separate all of the contiguous groups of black pixels on the page.
For the purposes of this tutorial, select the filename for the first page and use the default segmentation method cc_analysis.
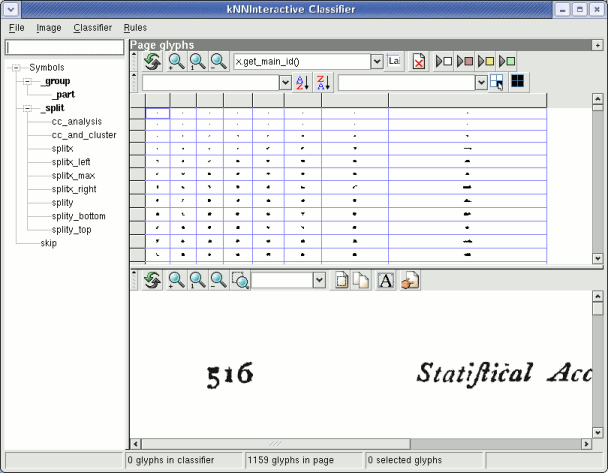
When the page has been loaded, the connected components will be displayed in the Page glyphs pane (upper right), and the original image will be in the pane below.
Selecting glyphs
Glyphs can be selected in a number of ways:
- By clicking and dragging across cells in the page glyphs pane.
- By clicking on glyphs in the original image display.
- By dragging a bounding box around glyphs in the original image display.
- Adding/removing glyphs from the selection by selecting while holding down the Shift key.
The selection in the page glyphs pane and on the original image are automatically synchronized. The status bar displayed the number of selected glyphs.
Experiment with the different selection methods to get a feel for the interface.
Beginning training
Now, to begin training. Training is simply the act of assigning names to each of the glyphs. In Gamera, these names are made up of dot-delimited tokens. (See class names.)
To see what's happening behind the scenes as we're training, open the Classifier glyphs pane by pressing the + button in the Page glyphs title bar.
Since the example being used for this tutorial is text, the characters will be named to conform to Unicode character names. This will allow class names to conveniently map to characters when OCR is output from a Gamera-based system. In Unicode, the character name for A is LATIN CAPITAL LETTER A and for a is LATIN SMALL LETTER A etc.. To fit these names into Gamera's naming convention, they can be adapted to latin.capital.letter.a and latin.small.letter.a. Of course, for non-textual documents, a different naming convention may have to be devised.
The page glyphs are sorted roughly by size. The first few glyphs are generally specks of dust or bits of broken characters on the page. It's generally easiest to start with the glyphs that make up whole characters and then deal with the broken characters later.
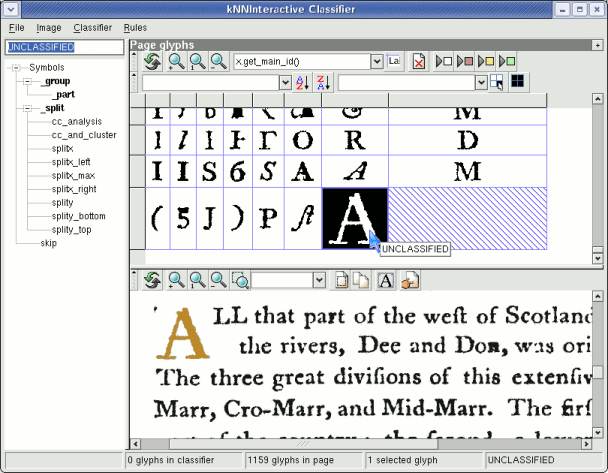
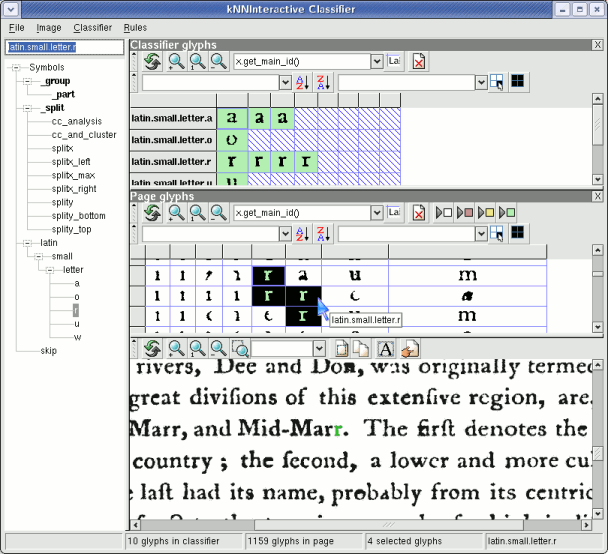
To classify a glyph, select it, type its name and press Enter.
For this example, scroll down to where the first few legitimate characters appear. In the example below, the w was selected, then latin.small.letter.w was entered, followed by Enter to confirm the classification.
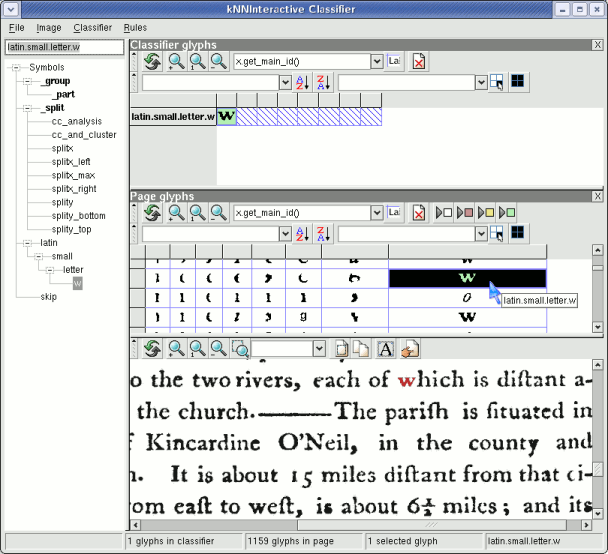
Note that the following things happen upon manual classification:
- Most importantly, the glyph is added to the classifier (as shown by its appearance in the classifier glyphs pane).
- The glyph changes color to green, which indicates that it was classified by a human trainer.
- The class name is added to the tree of class names on the left.
- The status bar at the bottom is updated to show how many glyphs are in the classifier.
Bootstrap the classifier by continuing in this fashion for a dozen or more characters. If you make a mistake, you can simply reselect the glyph and give it a new class name. Note that you can also select multiple glyphs and train them in one step, as illustrated in the following picture.
Using auto-move
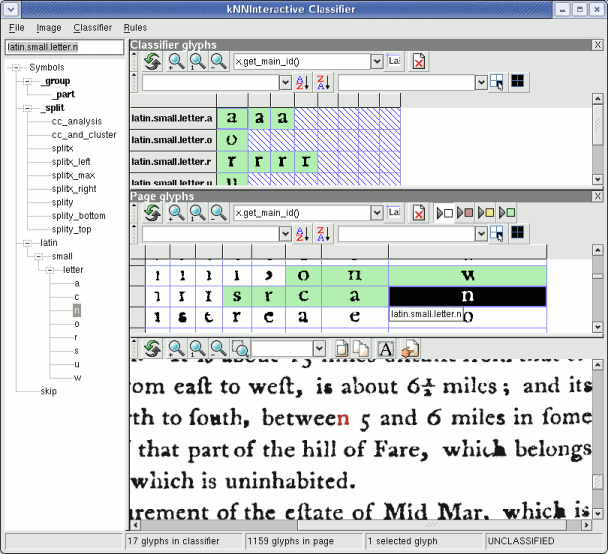
Of course, continuing to train in this fashion gets tedious and involves a lot of "mousing around". The auto-move mode will automatically move to the next glyph after each glyph is trained. It will also guess the class of unclassified symbols automatically, meaning the trainer only needs to confirm or correct the classifier's guess.
Turn on auto-move mode by clicking the
toolbar button. When this button is toggled on, the training interface will automatically move to the next unclassified (white) glyph after each manual classification is made.
To try it out, select an unclassified glyph to start with. Type its class name and press Enter. The selection will automatically move to the next unclassified glyph, with a "guess" displayed in a box underneath the glyph and automatically entered in the textbox in the upper left. If this guess is correct, simply press Enter to confirm and add the glyph to the classifier with that class name. If the guess is incorrect, it may be edited and then submitted by pressing Enter.
Other useful keystrokes while in auto-move mode are:
- F12: Skip the currently selected glyph and move on to the next
- one.
- F11: Back up one glyph to reclassify.
It's also useful to close the Classifier glyphs pane to increase training speed.
With auto-move mode and these keystrokes, it is possible to train quite efficiently by keeping one's hands on the keyboard.
Training broken characters
Occasionally, characters will be broken into multiple glyphs, either because the ink has degraded or the imaging is poor. Also, it may be that the character itself is intentionally broken, such as the lower case i.
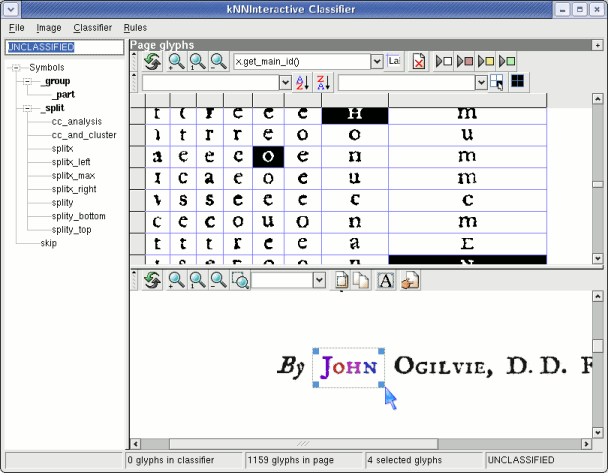
For these cases, in the original image display, drag a bounding box around the connected components that make up the character. (It may be useful to zoom in on the image.) Then train the collection with a class name beginning with _group..
For instance, in the following example, the parts that make up the letter N are selected, and then trained as _group.latin.capital.letter.n.
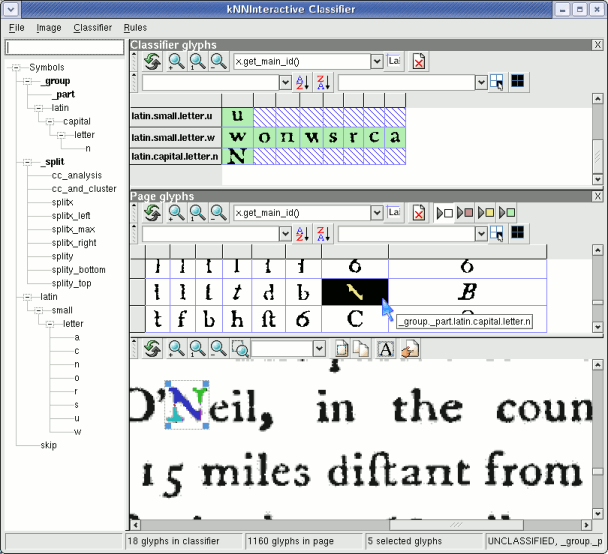
The union of the parts will be stored as a single glyph in the training dataset. Note that when you later in the recognition stage want to recognize glyphs that are broken, intentionally like the letter "i" or unintentionally, you must use the group_list_automatic classifier method.
Saving the training data
It is good practice to regularly save the training data. Use the menu item
File -> Classifier glyphs -> Save glyphs in classifier...
to save the training data.
Note
There is no auto-save feature, so be sure to save your work often.
Once the entire page has been classified, save it to a file called tutorial_page1.xml.
Note
If you don't want to take the time to train the entire page, you can load this training data from the tutorial using the menu option File -> Classifier glyphs -> Open glyphs into classifier... and selecting tutorial_page1.xml.
On to the second page
Once the first page has been trained, the next page can be loaded in by using
Image -> Open and segment image...
Note that the page glyphs have been replaced with the contents of the new page, but the classifier glyphs (the training data) remains the same.
Since there is already some training data in the classifier, it won't need to be bootstrapped as it was for the first page. The existing classifier data can be used to classify the second page, and then the user can go through and correct the classifier's mistakes.
To run the classifier over the page glyphs, use the menu option
Classifier -> Group and guess all.
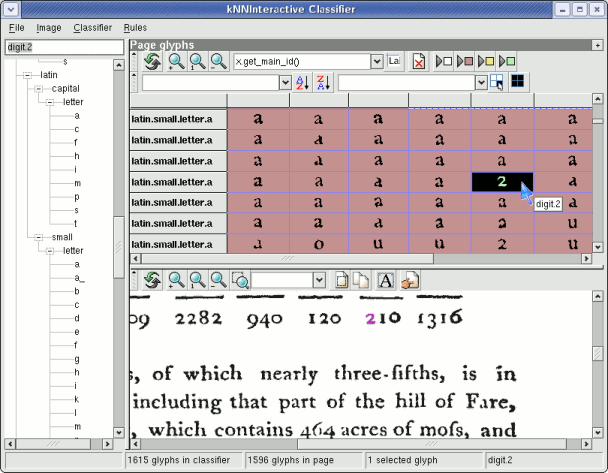
After some time, all of the glyphs on the page will have been classified, and grouped if necessary. Note that the automatically classified glyphs are displayed in red. The glyphs on the page will be sorted by their class name. Within each class name it is fairly easy to scan for incorrectly identified symbols. Note that the glyphs within each class name are sorted by decreasing confidence. Often the glyphs near the beginning will appear more like the training data and the glyphs near the end will be more unlike the training data.
Once going through and correcting all of the classifier's mistakes, it is good practice to "reward" all of its correct guesses by confirming them. Classifier -> Confirm all will add all of the automatically classified glyphs on the page to the classifier as if they were manually classified.
Again, don't forget to save the training data.
And another page...
For the sake of this tutorial, it will be assumed that some time has lagged between training the second page and the third page, in order to demonstrate how the training process can be continued.
Close Gamera and start it up again. After opening the classifier window, you can continue training by loading in the existing training into the classifier using
File -> Classifier glyphs -> Open glyphs into classifier...
and loading the next image using
Image -> Open and segment image....
Training can then proceed as for the second page. If all is going well, each successive page should require less manual correction.
Optimizing the classifier
It is impossible to say how much training data is "enough", and that whole question is well beyond the scope of this tutorial.
When you have a representative amount of data collected, however, it may be a good idea to optimize the classifier. In short, optimization involves deciding the relative weight (or importance) of each of the features used for classification.
There are many ways to do this, but one that requires minimal manual intervention is an optimizer based on a Genetic Algorithm (GA). Gamera includes a GA for this purpose called Biollante.
The end
That's the gist of training with Gamera. Of course, there are a lot more methodologies and tricks possible. Enjoy!